
A new lease is exciting, but the space rarely fits your business on day one. Walls move, kitchens go in, and lighting changes. Behind all of it sits the electrical work. A skilled Las Vegas tenant improvement electrician turns an empty shell or a tired second-generation suite into a space that works. This step-by-step guide follows a typical project from lease review to move-in. Along the way, it shows where schedules slip and how to keep yours on track.
Step 1: Review the Lease and Work Letter
Electrical planning starts before you sign. Your lease and work letter spell out who pays for what. For example, the landlord may provide a set amount of power, a main panel, and basic lighting. Everything beyond that may fall on you.
Ask a Las Vegas tenant improvement electrician to walk the space before you sign. They can check the existing panel size, available capacity, and the condition of the wiring. In addition, they can spot costly surprises, such as an undersized service or outdated equipment. This short visit can shape your lease talks and save thousands of dollars.
Step 2: Share Power Needs With Your Las Vegas Tenant Improvement Electrician
Next, list everything your business will plug in. A dental office needs chairs, compressors, and imaging. A restaurant needs ovens, hoods, and refrigeration. Meanwhile, a tech office needs server racks and plenty of desk power.
Share equipment spec sheets as early as possible. With those details, your electrician and engineer can size circuits correctly. Meanwhile, this step also reveals whether you need more power from the utility. If so, NV Energy coordination should start right away, because service changes can take months.
Step 3: Design and Engineering
Most commercial tenant improvements in the valley need stamped electrical drawings. An engineer or a design-build electrical team prepares them. The drawings show panel schedules, circuit layouts, lighting plans, and load calculations. They also show how the space meets energy code rules for lighting and controls.
Good drawings lead to accurate bids. On the other hand, vague drawings lead to change orders. So take time to review the plans with your architect and your Las Vegas tenant improvement electrician before you submit them. If you are new to this process, our overview of commercial electrical tenant improvement work explains each drawing type.
Step 4: Permits in Clark County and Valley Cities
Where your suite sits decides who reviews your plans. Properties inside city limits go to the City of Las Vegas, Henderson, or North Las Vegas. Many addresses along the Strip and in unincorporated areas fall under Clark County. Each office has its own submittal rules and review times.
Plan review can take a few weeks for simple suites. Larger or more complex projects may take longer, especially if comments require changes. Therefore, submit complete drawings the first time. Missing load calculations or unclear fire alarm notes are common reasons for rejections.
Step 5: How a Las Vegas Tenant Improvement Electrician Handles Demolition and Rough-In
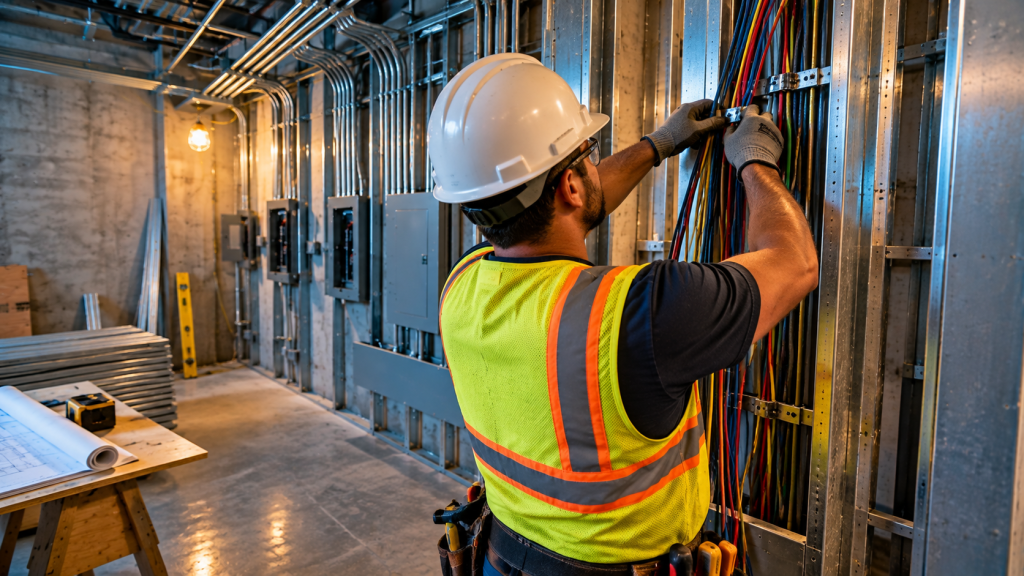
Once permits are approved, work begins. First, the crew makes the space safe. They identify which circuits stay live and remove old wiring that no longer serves a purpose. This step matters in second-generation spaces, where abandoned wiring is common.
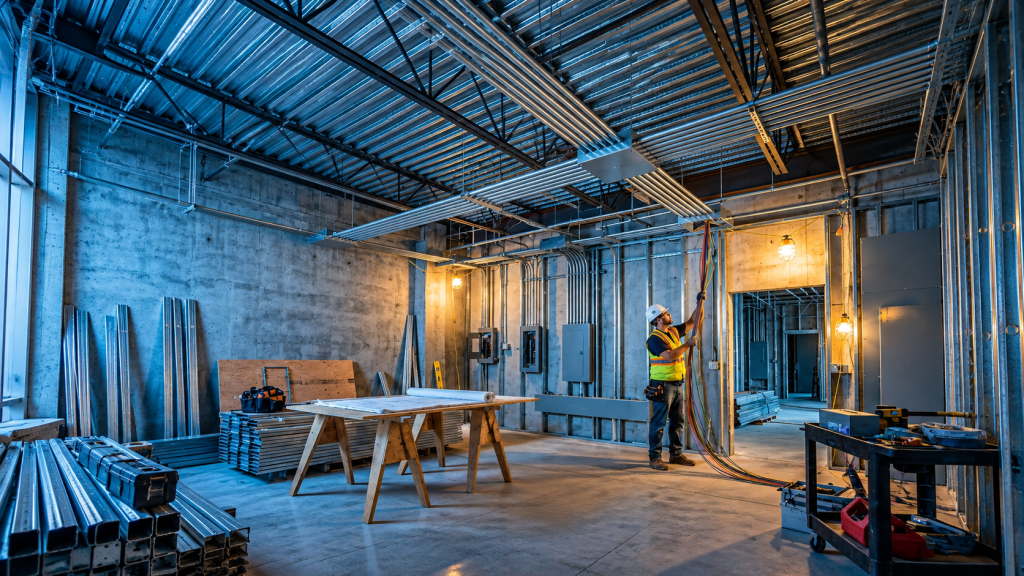
Then rough-in starts. Electricians run conduit, set boxes, and pull wire before walls close. They also install feeders to new panels and rough in low-voltage pathways for data and security. Coordination is key at this stage. HVAC ducts, plumbing lines, and sprinkler pipes all compete for ceiling space. A Las Vegas tenant improvement electrician who works well with other trades keeps this phase moving.
Step 6: Rough-In Inspection
Before drywall goes up, an inspector checks the rough-in. They look at box fill, wire sizes, grounding, conduit support, and fire-rated penetrations. If everything passes, framing crews can close the walls.
Failed inspections cost time. For that reason, experienced crews do their own walk-through first. They fix small issues before the inspector arrives. As a result, most projects pass on the first try.
Step 7: Trim-Out and Fixtures
After walls are finished and painted, electricians return for trim-out. They install devices, cover plates, light fixtures, and panel breakers. They also connect equipment such as water heaters, hand dryers, and kitchen appliances.
Lighting controls go in at this stage too. Occupancy sensors, dimmers, and daylight controls must be set up and tested. To learn what modern controls can do, see our page on lighting and controls.
Step 8: Final Inspection and Fire Alarm Sign-Off
Next comes the final electrical inspection. The inspector checks finished work, panel labels, and working equipment. In many projects, the fire alarm system also needs its own test and sign-off from the fire department.
Only after these approvals can the building department issue your certificate of occupancy. Without it, you cannot legally open. So build a buffer into your schedule for this phase. A week or two of cushion can save your grand opening.
Step 9: Closeout With Your Las Vegas Tenant Improvement Electrician
Finally, the project wraps up. A good contractor hands over clean panel schedules, as-built drawings, warranty details, and test reports. They also walk your team through the lighting controls and shutoff locations.
Keep these documents in a safe place. They make future changes, repairs, and inspections much easier. Many tenants also keep the same electrician on call for small changes after opening.
Where a Las Vegas Tenant Improvement Electrician Sees Schedules Slip
Most delays fall into a few patterns. For one, late equipment specs force redesigns. In addition, long lead times on panels or transformers stall rough-in. Incomplete permit sets bounce back for corrections. Finally, utility service changes take longer than expected.
You can avoid most of these with early planning. Bring your Las Vegas tenant improvement electrician into the process before design starts. Order long-lead gear as soon as drawings allow. Above all, keep your equipment list current and share it with the whole team.
Second-Generation Spaces Versus Cold Shells
Not every tenant improvement starts from the same place. A cold shell has little more than a slab, walls, and a utility stub. Everything else must be built new, including panels, lighting, and branch circuits. As a result, these projects cost more but offer total design freedom.
Second-generation spaces are different. They already have panels, lighting, and outlets from the last tenant. Reusing what works can save real money. However, older gear may not meet current code or your power needs. Abandoned circuits, mislabeled panels, and hidden splices are also common.
For that reason, a careful survey matters most in second-generation suites. Your electrician should trace circuits, test equipment, and note anything that must be replaced. That survey then becomes the base for accurate drawings and a fair bid. It also reduces surprises once demolition opens the ceilings and walls.
Ask your broker which type of space you are touring. Then factor the likely electrical scope into your lease decision.
Start Your Build-Out With a Clear Plan
A tenant improvement has many moving parts. Even so, a clear sequence and the right team make it manageable. For local details, visit our Las Vegas electrical tenant improvement page. You can also review building code updates through the Clark County official website. When you are ready to plan your space, contact our team for a site walk.